Halloween is just around the corner, and this tutorial can be made in just a short time, so it's perfect for last minute decorating! We love this idea which is from Creations by Kara's blog - so check her out!
Book Page Pumpkin Tutorial
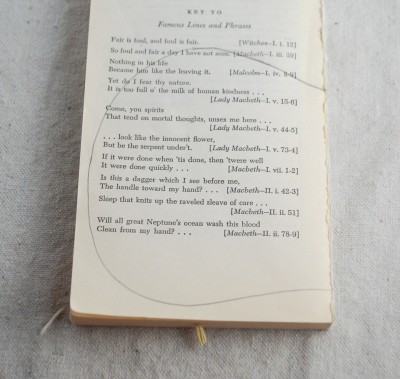
1- Make a pumpkin shape out of a piece of paper. I roughly drew one,
then folded the paper in half and cut it so it would be symmetrical. 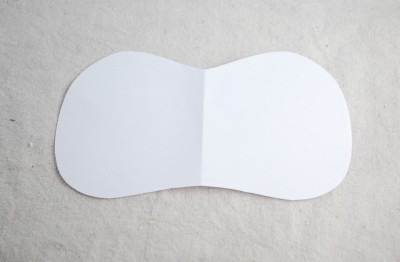

2-Take
the cover off of your book and place the pumpkin pattern with the fold
on the binding edge. If it doesn't fit, trim it a little. 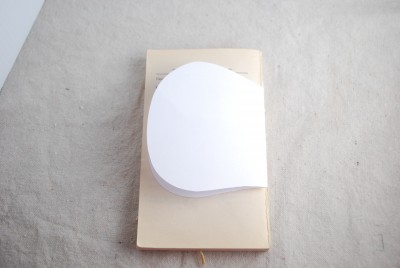

3-Trace around the pattern with a pencil.
4-Now
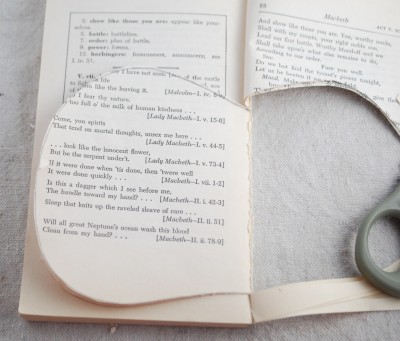
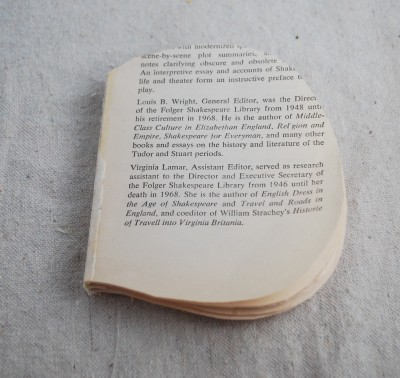
it's time to cut out your pumpkin. You can use an exacto knife, but I
found that it was easier just to use scissors. I could cut through 5-6
pages at a time pretty easily. If you don't have fine tipped scissors to
cut all the way to the edge of the binding, you can use an exacto knife
there. 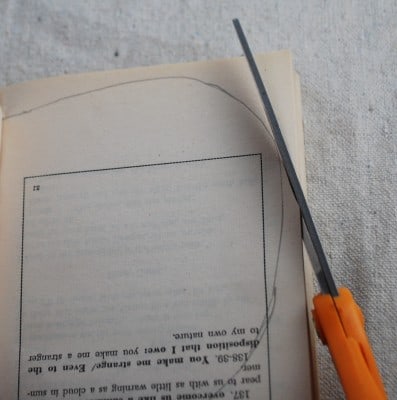

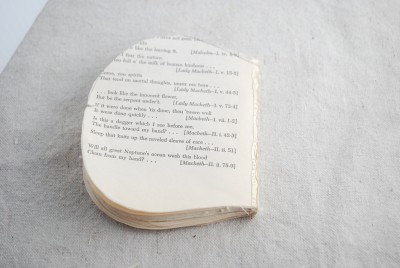
5-After you cut all the way around, pull the excess pages over to the binding and they should tear right off.
6-Now
trace around the pumpkin shape and cut through a few more pages. Tip:
cut slightly inside the pencil mark, or your pumpkin will keep getting
bigger. Yep, I learned that the hard way. 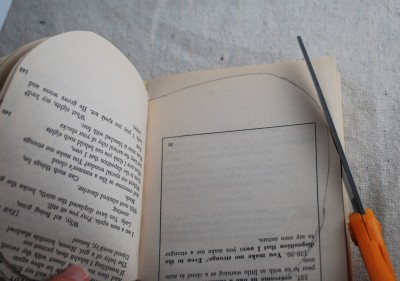

8-Now put a thin strip of glue on the very edge. I'm the impatient type, so I used hot glue.
9-Now
bring that back page around and attach it to the hot glue, keeping the
outside edges as even as possible. Then add a stip of hot glue to that
page, and glue the next page to it, just on the inside edges. I sure
hope that makes sense. 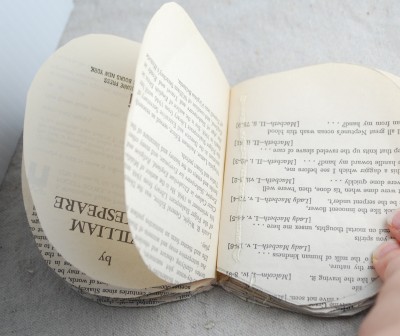

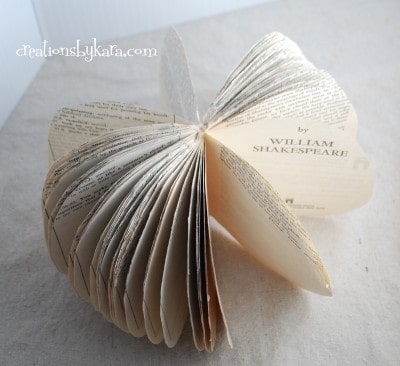
11-Don't
panic! It just needs to be "fluffed". Just go around pulling the pages
apart and arranging them how you want them. If I had a space where the
pages just refused to come together, I added a little hot glue right at
the inside seam. When you are done, it should look more like this. It's
OK that there are some spaces. We'll fix them later. 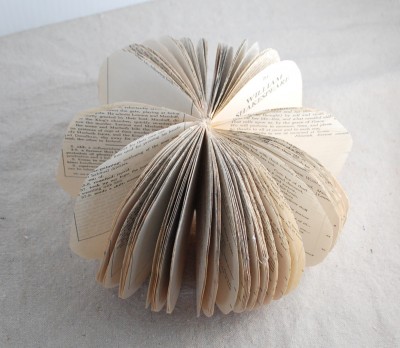

12-
At this point I decided my pumpkin needed a little color. I could have
inked all the edges with my orange ink pad. But I knew that would take
awhile. So I turned to my best friend Krylon. Spray paint that is. Yep,
you can totally spray paint book pages. Just use a very light touch, you
don't want it drenched or anything. One light spritz is all you need. 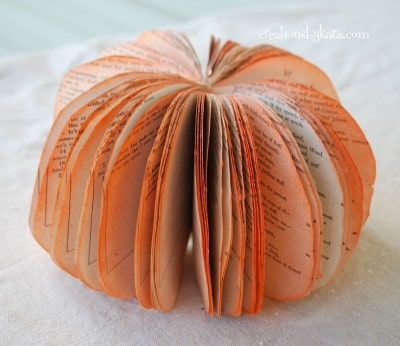

13-Now
it's time to add the stem. I just used a stick from my yard. If you
have any stubborn pages, now you can bend them to your will. Bwaahaha! I
used a bunch of hot glue, then forced the pages where I wanted them and
held the stem in place till the glue dried. Voila! 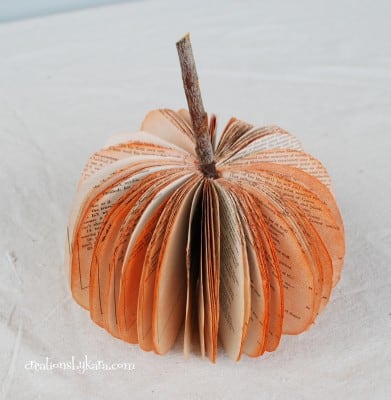

14-Next
I tied a ribbon around the stem. Not only does it look cute and add
some color, but it hides all the gobs of hot glue. Yay! 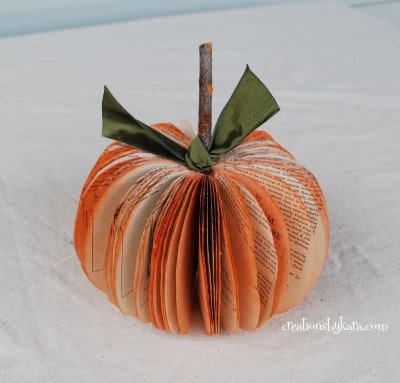

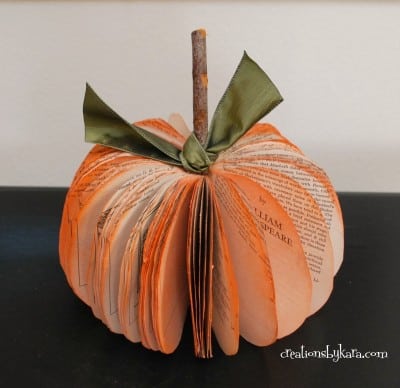
And just because I love it so, here is another shot of it sitting on my entry table.

No comments:
Post a Comment